How to Use the Doodle Method to Apply Your Wall Mural Sketch
One of the key challenges in the mural process is transferring your design to a large wall. While there are several methods to apply your mural sketch onto the wall—such as grids or a projector—the doodle method is an alternative approach.
WHAT IS THE DOODLE GRID METHOD?
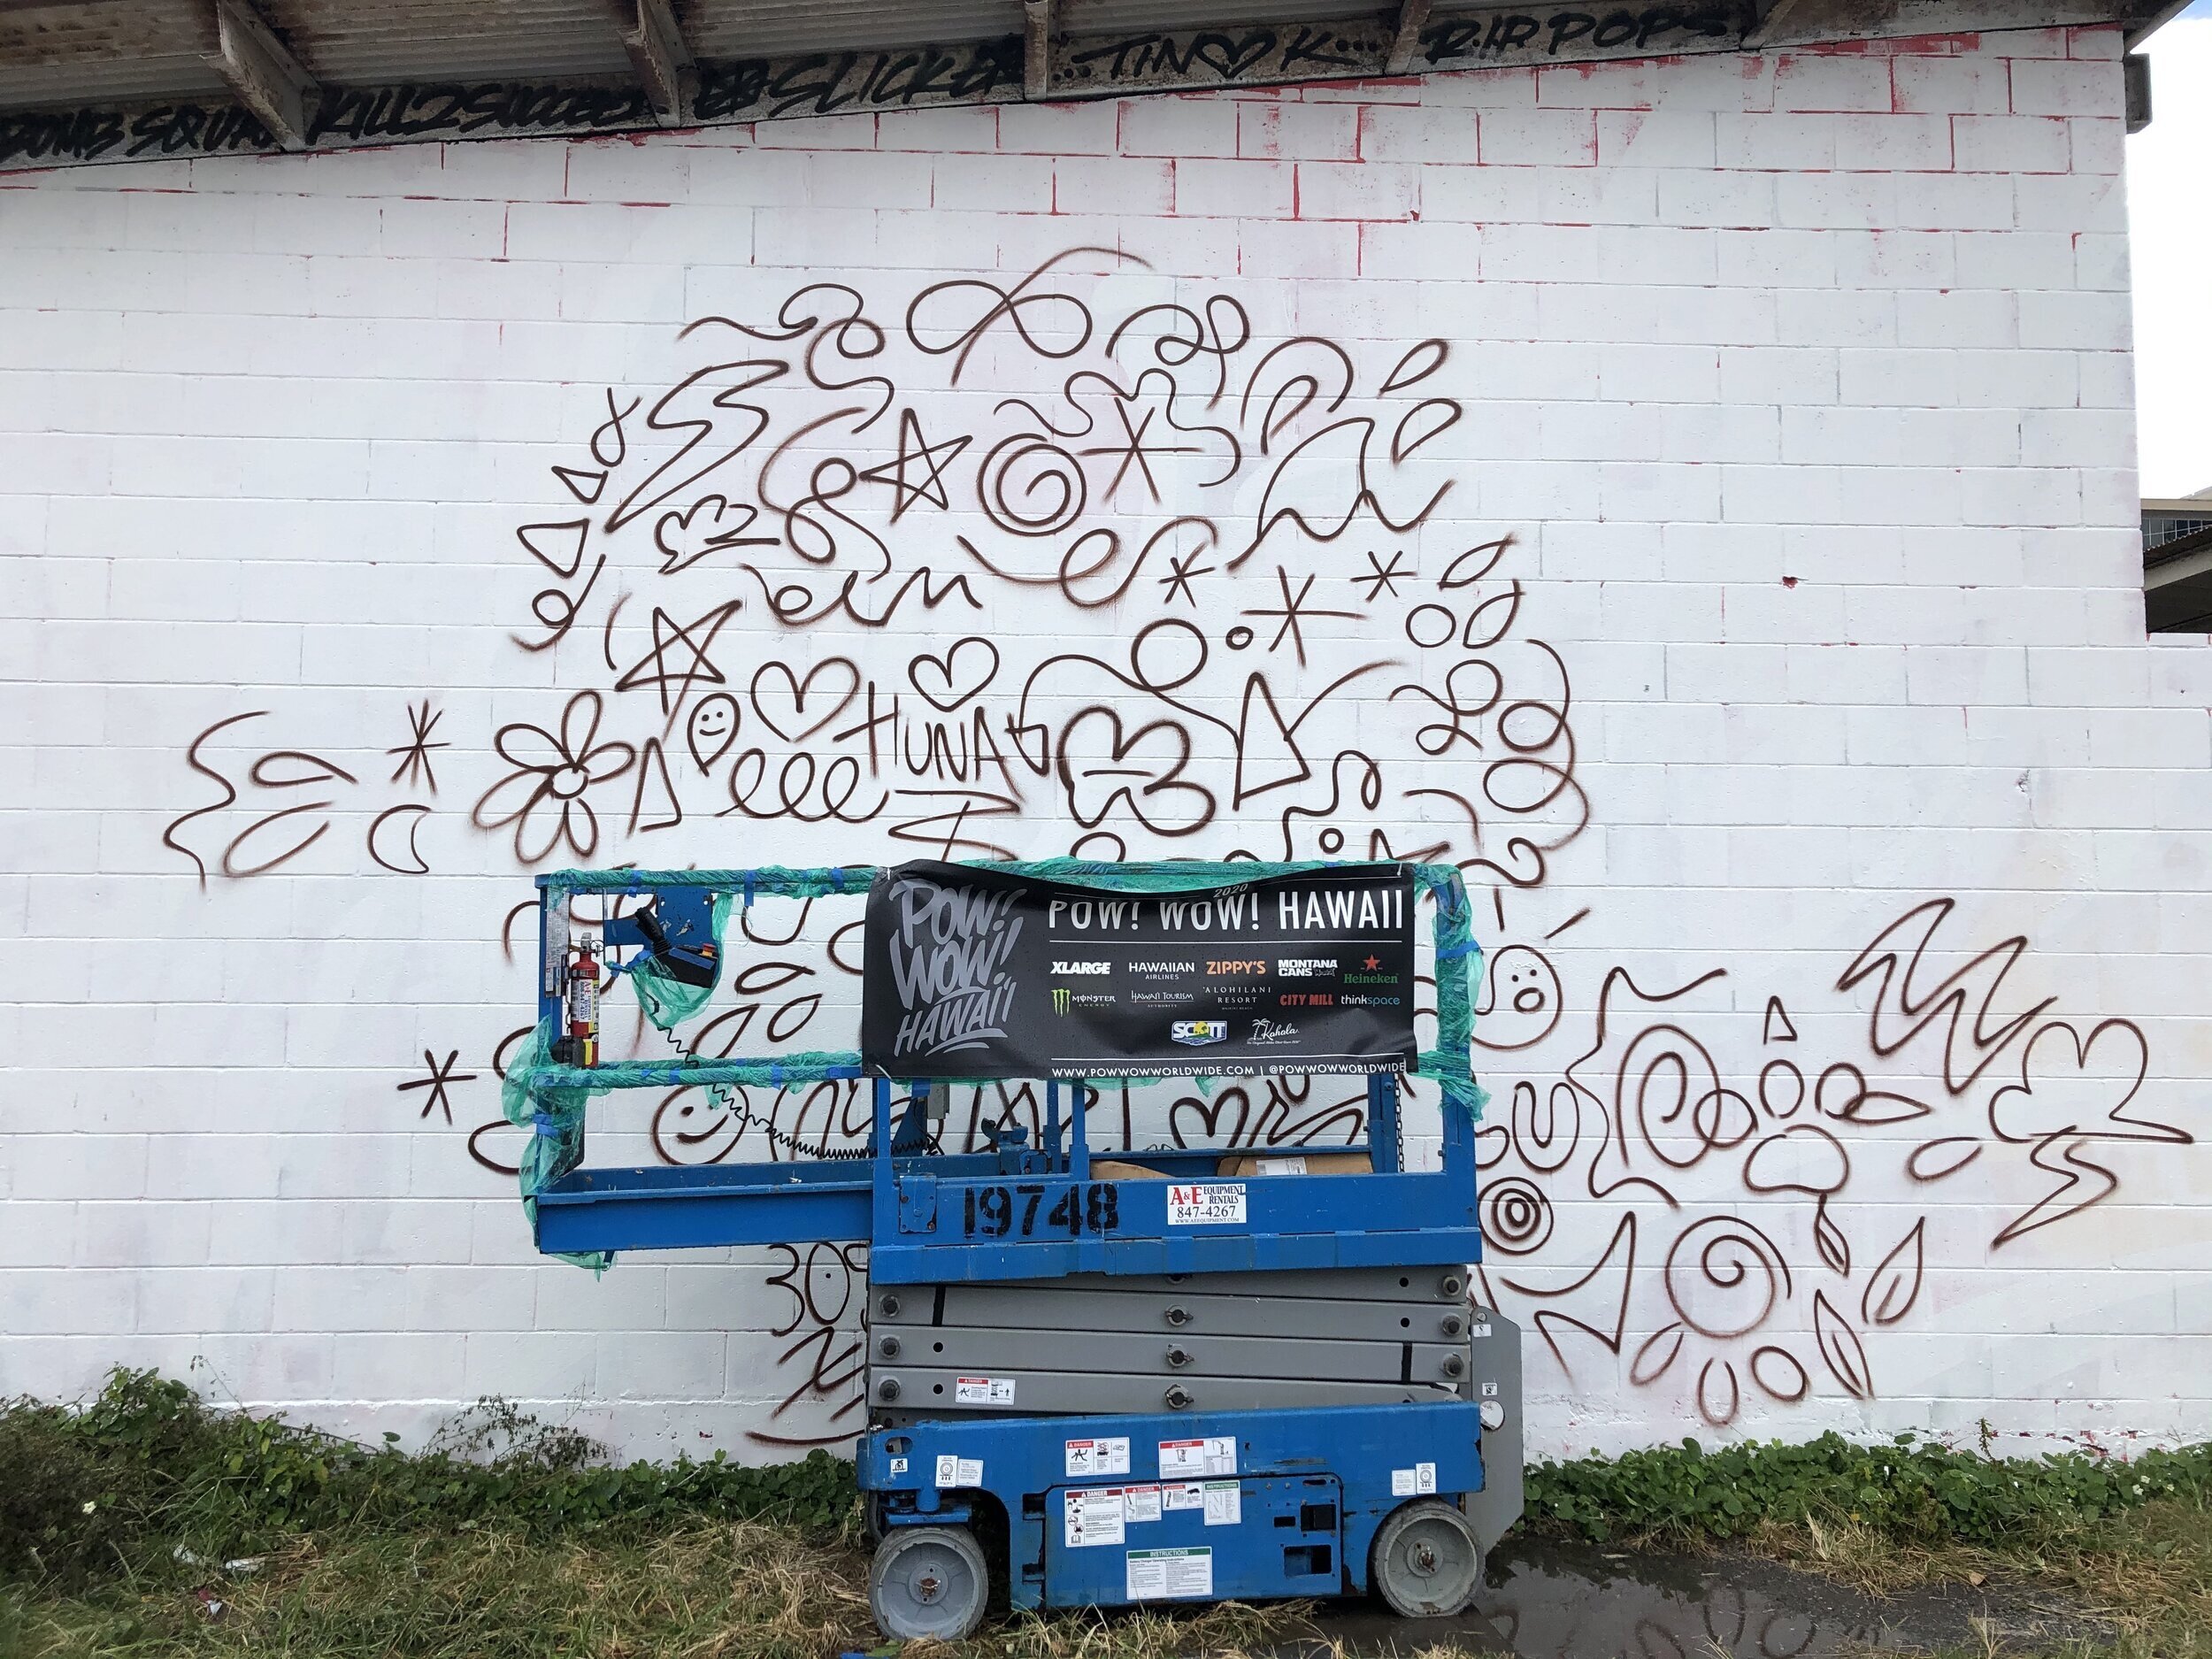
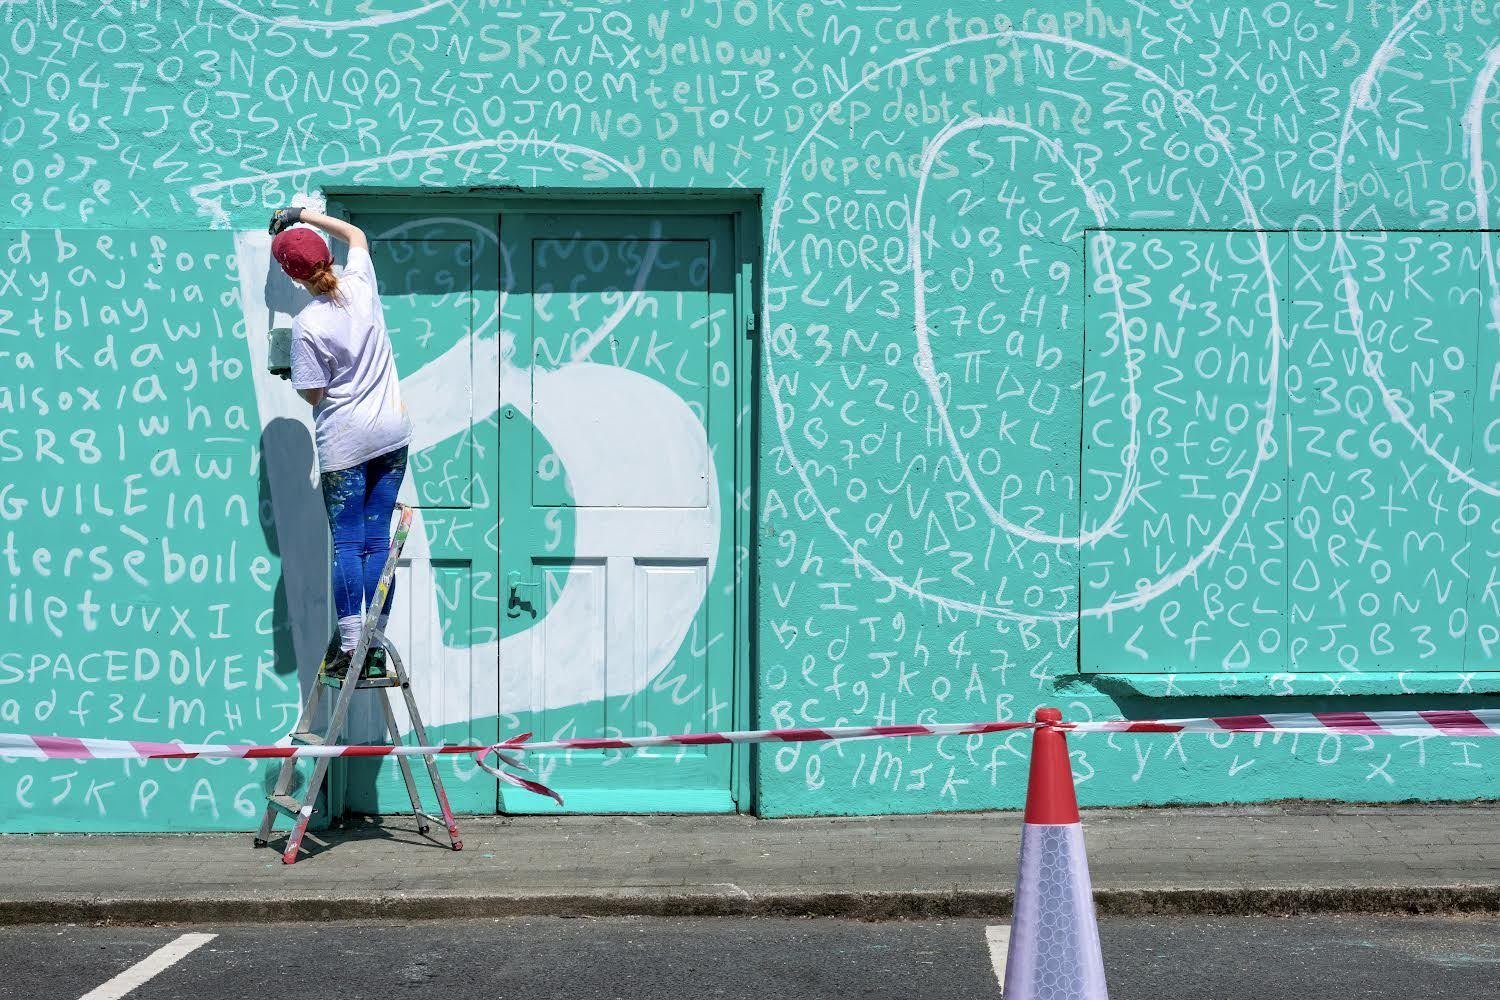
The Doodle Grid Method—also called the “squiggle grid”—is a technique that helps artists transfer their designs onto a surface without the need for a projector or ruler. Instead of precisely measuring a grid or tracing a projected image, you simply draw random shapes, letters, and symbols across your wall. These “doodles” act as visual reference points to guide you as you scale and place your mural design.
5 REASONS TO TRY THE DOODLE GRID METHOD
This method is my go-to when painting outdoors in broad daylight. But beyond its use in sunlight, here are some reasons why the doodle grid is a great choice for muralists:
Minimal Equipment Needed
No projector or measuring tools required! Just grab some chalk, spray paint, or whatever marking tool you have on hand. Simple and portable.Scalable to Any Size
Unlike projectors that can limit how big or small you can go, the doodle grid works for murals of all sizes — from tiny canvases to massive skyscrapers. For large-scale murals, the doodle grid is often the best choice since projecting over several stories isn’t feasible.Works on Any Surface
Projecting onto uneven surfaces like brick can distort your image, but the doodle grid allows you to adapt to any texture. Whether your surface is rough or smooth, you can adjust your design to keep everything proportional and accurate.No Power Needed
This is a big plus, especially if you're working in remote locations or outdoors. Since projectors require a power source (or batteries that can die), the doodle grid method can be done anywhere — no outlets or cords necessary.Increased Safety
As a female muralist, I feel much safer painting during daylight hours. The visibility and passersby keep things secure, whereas working in the dark (when the mural is projected) can feel risky. The doodle grid allows me to work efficiently during the day, without staying late.
STEP-BY-STEP GUIDE TO USING THE DOODLE GRID METHOD
What you’ll need:
Chalk, spray paint, or a marker
A tablet or phone with Procreate, Photoshop, or another design app
Here’s how to use the doodle grid method for your next mural:
Define the Mural’s Dimensions
First, decide how large your mural will be and mark its boundaries with tape. Step back and make sure the dimensions look right.Start Doodling
Begin filling your wall with random doodles. You can start with numbers and letters, then let your creativity take over — stars, peace signs, squiggles, etc. The goal is to cover the surface, so don’t worry about making it perfect. Just ensure the marks are visible but not too dark to interfere with your final design.Take a Photo
Once you’ve covered the wall, take a clear, straight-on photo of the entire surface. This photo will act as a guide for transferring your design.Overlay Your Design
Import your mural design into a program like Procreate or Photoshop and overlay it on your photo. Adjust the design to fit the wall layout and lower the opacity so you can see the doodles underneath.Transfer the Design
Using the doodles as reference points, sketch your design onto the wall. Keep checking your mock-up and step back frequently to ensure everything lines up correctly. As long as your design lines up with the reference points, you’re good to go.Start Painting!
Now that your design is mapped out, you can begin painting. The prep work is done, and your mural is ready to come to life!


